Assessing Your 1951 Ford 8N: The Starting Line
Embarking on a 1951 Ford 8N restoration is like embarking on a historical journey. Before you even consider turning a wrench, a thorough assessment is paramount. This isn't just about identifying broken parts; it's about understanding the tractor's history and formulating a realistic restoration plan. Think of it as a detective's investigation, carefully piecing together the clues to bring your Ford 8N back to life. For additional resources, check out this helpful Ford 8N guide.
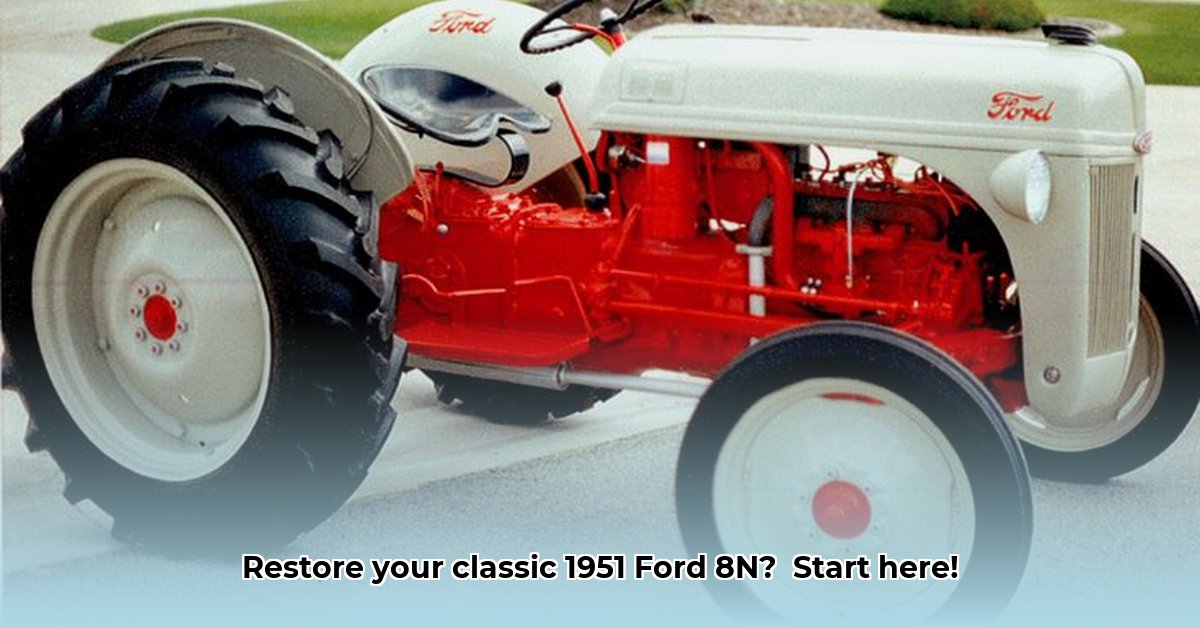
Visual Inspection: Begin with a careful examination of the entire tractor. Take numerous high-resolution photographs – documenting every dent, scratch, area of rust, or missing component is crucial for later reference. This detailed visual record will be invaluable during the disassembly, repair, and reassembly phases.
Mechanical Check-Up: This step moves beyond superficial observation. Check the engine's compression. Does it crank over? Listen for unusual noises. Are there any obvious leaks (oil, fuel, coolant)? Test the transmission – does it shift smoothly through all the gears? Examine the hydraulic lift; does it raise and lower as expected? This assessment helps determine the scope of the restoration project. Don’t forget to check the brakes and steering mechanisms.
Detailed Inventory: Create a meticulous inventory of all parts requiring repair or replacement. Be exceptionally specific – "left rear wheel hub" is far more useful than "broken wheel part." This precise list forms the basis for sourcing replacement parts, accurately estimating costs, and scheduling the restoration. Use a spreadsheet or dedicated notebook to maintain a clear record. Have you ever tried restoring a tractor without a parts list? It's a recipe for disaster!
Sourcing Parts for Your 1951 Ford 8N: The Treasure Hunt
Finding the right parts is a critical and often challenging aspect of the restoration. The Ford 8N boasts a dedicated community of enthusiasts, making the search rewarding in itself. But be prepared; the hunt for authentic parts can be time-consuming.
Online Resources: Leverage dedicated online marketplaces specializing in classic tractor parts. These often feature detailed catalogs with images and part numbers. Always check vendor reviews and ratings before making a purchase.
Local Tractor Shows and Clubs: Attending local events offers a unique opportunity to connect with other enthusiasts. You might find rare or hard-to-find parts, and the social interaction is an added bonus. Building relationships with fellow restorers can be invaluable.
Used Tractor Parts Dealers: Many used tractor parts dealers, both online and brick-and-mortar, specialize in Ford 8N components. These sources can offer unique finds at competitive prices, but be prepared to sort through various items.
Online Forums and Communities: Online forums and communities devoted to the Ford 8N provide a wealth of information and support. Experienced restorers frequently share parts sources and advice. Remember to engage respectfully and contribute to the community's knowledge base.
Disassembly and Deep Cleaning: The Great Unraveling
Now, the hands-on work begins. Carefully documented disassembly is key to a successful restoration. Each part should be meticulously cleaned. Think of this as a crucial step toward revitalization, not just cleaning – it's about preparing each component for assessment and eventual repair or replacement. Thorough cleaning reveals hidden damage and allows for precise evaluation.
Methodical Disassembly: Don't rush this process! Use your photographic documentation to guide you. Disassemble the tractor systematically, commencing with easily removed components and progressing to more intricate systems. Keep small parts organized in labeled containers to prevent confusion during reassembly.
Deep Cleaning: Use appropriate cleaning agents for various parts. Degreasers are essential for removing grease and oil. Rust removers can help salvage corroded components. Always follow safety precautions – wear gloves and eye protection. Consider using a pressure washer for larger parts.
Organization Is Paramount: Maintain meticulous organization throughout the disassembly process. Label and store each part carefully to avoid loss or misplacement. A well-organized workspace drastically reduces the stress associated with reassembly. Losing a small part can bring your restoration to a screeching halt; remember this!
Repair and Restoration: The Heart of the Matter
This phase is where your mechanical aptitude – or the skills of a trusted mechanic – truly shine. Each part must be carefully evaluated: can it be repaired, or should it be replaced? You'll be making decisions concerning authenticity and practicality, a balance between staying true to the original design and opting for reliable replacements where necessary.
Repair or Replace: Every part requires careful consideration. Weigh the feasibility of repair against the cost and availability of replacement parts. Consider factors like safety and functionality when making these decisions.
Engine Overhaul (If Necessary): A complete engine overhaul is an advanced undertaking, often best left to skilled mechanics unless you possess considerable expertise. This phase involves significant time investment, specific tools, and detailed knowledge of engine systems.
Paint and Bodywork: The paint and bodywork are the finishing touches that transform your tractor from a collection of parts into a restored machine. Aim for quality paints and primers that will provide long-lasting protection. Consult resources and guides for advice on preparing surfaces for painting.
Reassembly and Testing: Breathing Life Back In
Reassembly is essentially the reverse of disassembly; however, it requires precision and patience. Your meticulous documentation during disassembly is now your guide.
Careful Reassembly: Refer repeatedly to your photographs and notes. Work systematically, focusing on one component at a time. Take your time; rushing this phase is a recipe for errors. Don't hesitate to consult service manuals or online forums for clarification.
Thorough System Testing: Test each system individually before moving on. Start with the engine, checking all functions. Next, test the transmission and hydraulics, ensuring smooth operation. This is your final opportunity to address any issues before completing the restoration. Did you test every system before declaring the project finished? This is crucial for your safety and the tractor's functionality!
Final Touches and Long-Term Care: The Finishing Line
With reassembly complete and thorough testing concluded, the restoration enters its final phase. This involves any finishing touches, break-in procedures for the engine, and establishing a plan for ongoing maintenance.
Finishing Touches: Apply decals, clean the chassis, and add any final details. Ensure that all lubricants are at the correct levels.
Break-in Procedures: Follow the manufacturer's instructions for engine break-in. This critical step ensures the engine's longevity and performance.
Long-Term Maintenance: Create a regular maintenance schedule, including oil changes, lubrication checks, and inspections. This will ensure your restored treasure remains in top condition for years to come.
The restoration of a 1951 Ford 8N tractor is a challenging but profoundly rewarding project. With planning, attention to detail, and patience, you can bring a piece of agricultural history back to life.